Project 2
Project 2: Building the Web
For this project, the main goals are for you to:
- Develop a good basic understanding of how the web works and how search engines find content on the web.
- Create your own website, learning to use raw HTML, version control systems (github), and style sheets (css).
The first part of this assignment focuses on the second goal, and walks you through the steps to build your own website. The second part has some short answer questions for you to answer about web search engines. The first part you should do in order, but you can do the second part at any time.
Collaboration and Resources. For this assignment, we want everyone to create their own website so you should do the steps, answer the questions, and submit your own answers. If you wish, you may work together with one or two other students, including going through the steps here and helping each other with the questions, so long as everyone is creating their own website and doing everything themself. If you do work with others on this assignment, list them in your submission.
There are no restrictions on the resources you use for this assignment. Feel free to search the web for helpful resources, use your favorite (or least favorite) chatbot, and examine source code from other web pages (which you are actually required to do for one of the problems).
This project describes a series of steps you will follow to accomplish the second goal. You will submit your work as a text box in Canvas with your answers to the problems. For most problems, your answer is just a URL that points to something you did. We recommend collecting your answers in a text file as you go through the assignment, and then just pasting those answers into the text edit box in Canvas to submit the assignment. Problems denoted as below where you need to do something that will be submitted:
Problem 0. This is an example of what a project step that requires you to submit something looks like. For this one, there is nothing to do, its just an example to show you the styling.
Getting Started
The website you will create will be hosted using github pages. Github pages has several main advantages as a way of hosting a website (and this is what the course website, https://computingfor.github.io/, is using. It is free, very reliable, scalable (can support around 100GB per month), and (relatively) easy to set up. The main disadvantage, at least compared to a website you host yourself, is that you are giving up control over your content and the web server to github (which is owned by Microsoft). As with any computing service outside your direct control, there is always a risk that it will change in ways that will be unacceptable to you from shutting down to compromising the privacy of your visitors. But, it is a lot of trouble to try and host your own website, and the economies of scale a service like github can take advantage of allow it to provide a high quality service for free to most users. I trust github my most important websites and most of my work data, since it is part of a large company that has a good reputation for not shutting down services arbitrarily and for respecting user data (and github’s former CEO grew up in Charlottesville and Microsoft’s Chief Technology Officer went to UVA, so they must be trustworthy, at least enough for hosting my websites!). You should make your own decision about which companies to trust with your content, but for this assignment we will provide directions for using github pages and expect this is the best option for everyone in the class. If you do prefer to use something else or self-host, check with me — if you want to do something that provides at least as much control over your content as github pages does, it will be acceptable (using a form-based hosting provider like wix or squarespace is not an option, though, since those will provide you little understanding of what is actually going on or ability to actually control your website), but youl will need to figure out more on your own.
1. Create a github account.
Visit https://github.com/ and sign up for a free account. Pick your username tastefully — this will be public, and your website will be at username.github.io (where username is the username your use to create your github account). If you sign up using your @virginia.edu account, you will be able to get an academic account that includes some additional free (for students) services, but it isn’t necessary for this assignment.
2. Create a repository.
You should see a green “Create repository” button to click, or just visit https://github.com/new. To create a website, you must use the name username.github.io for your repository. For now, we recommend selecting Public (instead of Private) for this. Be aware that this means that everything you put in the repository will now be visible to anyone on the internet, and once something is on the Internet it cannot ever really be deleted. It is good practice to check the box to Add a README file (you will edit this later). You can skip the Add .gitignore choice. If you don’t selected a license, the default copyright laws apply to the content you create in the repository. If you want to allow others to benefit more from your content, you can select a more permissive license (which is not required for this).
3. Visit your website!
Open a web browser to https://username.github.io. You should see your website like this:
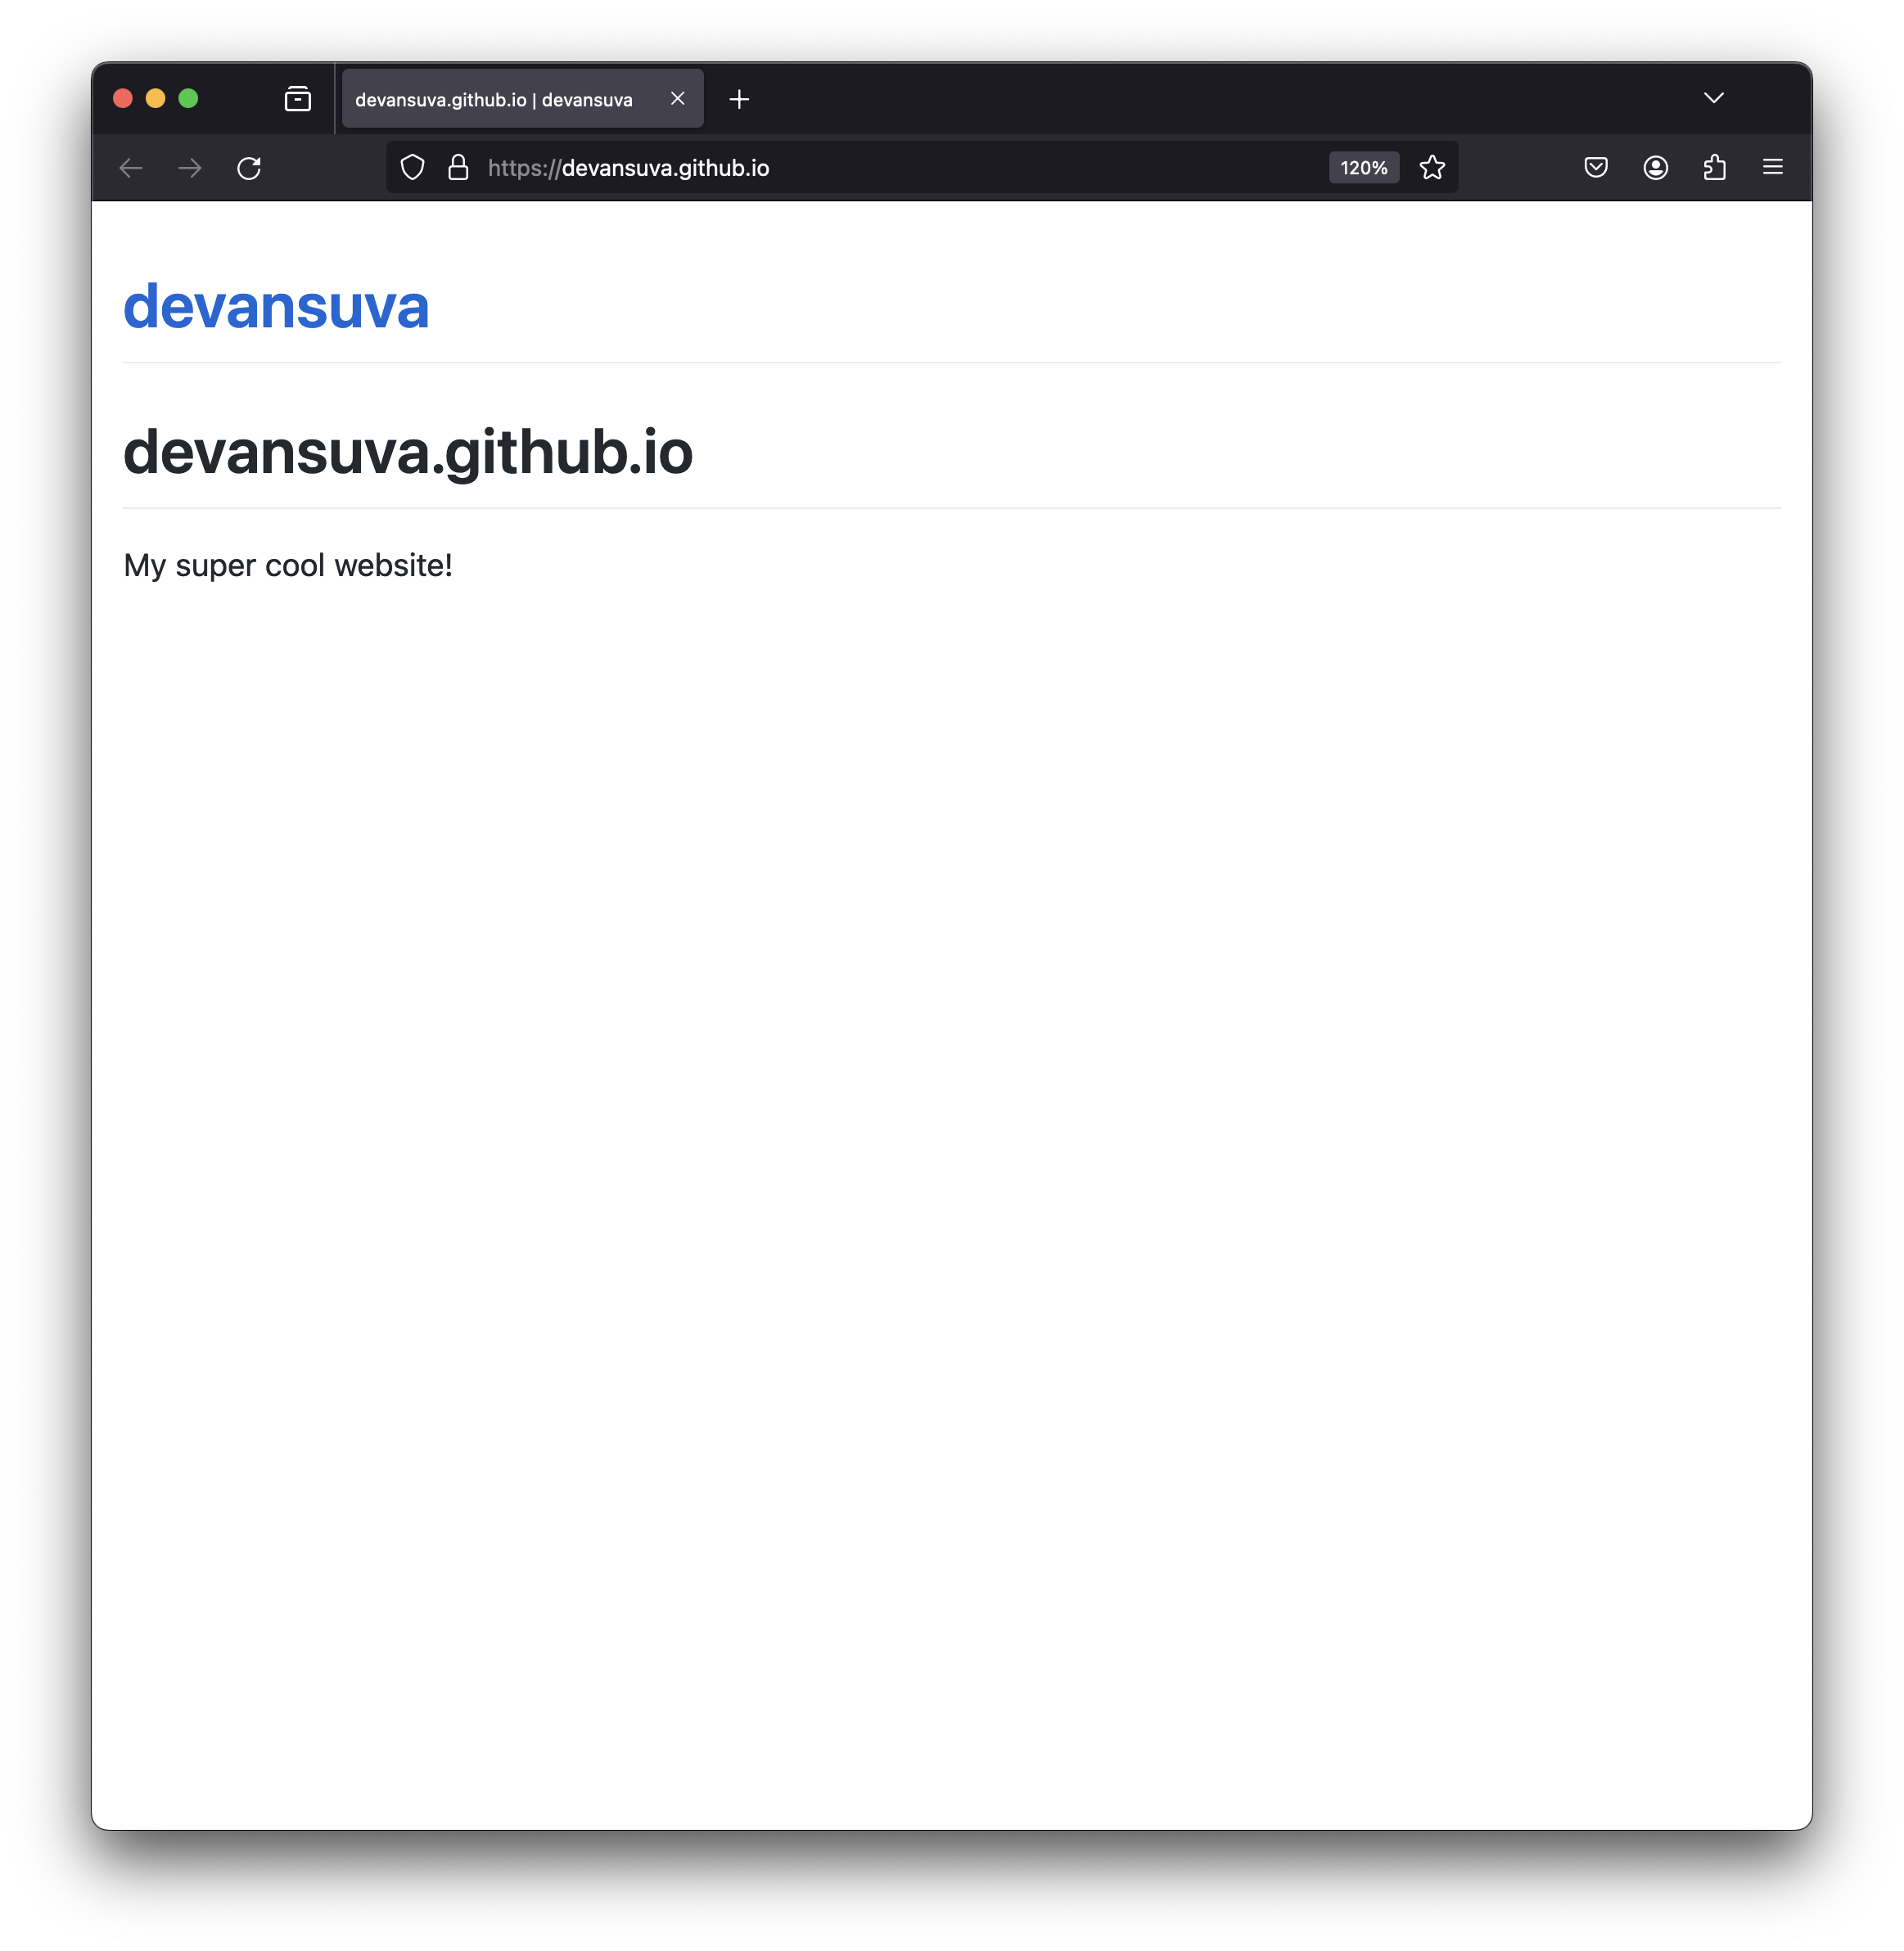
Congratulations!
You now have a website — you can share anything you want (subject to github pages’ Terms of Service, so please no “get-rich-quick schemes, sexually obscene content, and violent or threatening content or activity”, but totally fine to run a commercial or politically controversial site this way) with all of the over 5 billion people on the Internet today (as well as billions of future people, since your website will hopefully survive for hundreds of years, if not in github pages at least in archive.org).
Do keep in mind that anything you put on the web lives forever, and can probably be found by future employers, potential romantic partners, your parents, and even someday by your future children and genetic clone intelligences, should such beings come to exist.
Problem 1. Copy the URL for your website https://username.github.io into the submission form.
Creating your website
If you want people to visit your website, of course, you need some more interesting content than just “My super cool website!” (but do read the note above an don’t try to make it too interesting).
To get started editing the content, you will use the github web interface. Later, you’ll see how to edit content more efficiently and powerfully by creating a clone of the repository to be able to edit on your own laptop instead.
Click “Add File” and select “+ Create new file” to create a new file. Enter index.html as the name of the file. By convention, this is the default file that will be displayed by a web browser visiting the webiste.
4. Edit the index.html file to create a simple HTML webpage.
HTML (HyperText Markup Language) is the core language of the World Wide Web. It provides a way to indicate the structure, style, and content of a webpage.
Here’s an example
<html>
<head>
  <title>My Favorite Web Page</title>
</head>
<body>

  <h1>Welcome to My Web Page</h1>

  <p>
  This page is pretty boring now, but just you wait!
  </p>

</body>
</html>
(You can just cut-and-paste the text above into the github web editor, but feel free to be more creative.)
When you are done, click the Commit Changes button (at the top right). It will pop-up a dialog box where you can enter a description of the change, and then click the Commit Changes button.
Reload the https://username.github.io site to see that the content has changed. (Note that it can take several minutes for the changes you make in github to propogate to the website. So, if you still see the old welcome page, wait a few minutes and try reloading it again.)
5. Make it fancy.
The example webpage above has structure tags (<body>, closed by </body> near the end, which surround the main body content of the page, and <h1> which indicates a first-level heading) that give suggestions to the client web browser how the page should appear. There are about 100 different tags in the HTML Standard that are supported by all major web browsers. You can also add attributes to tags to customize their function and appearance.
For example,
<html>
<head>
  <title>My Favorite Web Page</title>
</head>
<body style="font-family: Verdana, sans-serif; margin-left: 10%; margin-right: 10%">

  <h1>Welcome to My Web Page</h1>

  <p align="center">
  This page is pretty boring now, <b>but <font size="+1">just <font size="+2">you <font color="#FF33CC">wait</font>!</font></font></b>
  </p>

</body>
</html>
Note: we’ll see later that although adding style like this is fun, it isn’t usually the proper way of doing things. The problem is it is mixing up the structure and content of the document, with the style of how it should be displayed. If you’re making a large website, you want to separate those decisions, and, for example, decide that all headings on the site should appear with a particular style and just need to change this in one place.
For now, don’t worry about that and add tags and attributes to make your website more stylish. To see the impact of a change, you’ll need to “Commit Changes”, and then reload https://username.github.io in your web browser (which may require a bit of a wait until the changes propagate).
There are lots of resources you can find on the web that describe HTML tags and attributes. Unfortunately, the search engine rankings are dominated by commercial sites (like w3schools) that are good at SEO (“search engine optimization”, which is methods to get your content to rank highly in Google’s index) but not as good at content. The documents from Mozilla at https://developer.mozilla.org/ are the best I know of. You’ll also get very helpful answers, and code snippets, to most HTML questions from ChatGPT (e.g., ``html for purple text’’).
- Understanding commitments.
Once you’ve made the edits you want to the web page, go back to the top-level page for your repository in github (https://github.com/username/username.github.io). Near the top right (below the Green Code button), you should see a link that has the number of commits to the repository. The number will vary depending on how many times you did Commit Changes, but should be something like 5 Commits. Click on this and you’ll see a list of all the commits to the repository:
For example, here’s what I see for the example site:

Git is a version control system, and github provides a convient and public interface to git. This means that it does not just store the current version of a file, but has a way to recreate all previously committed versions so you can see the entire history of how everything in your repository was edited. Note that if your repository is set to be Public, all of this is visible to the world, so you can see, for example, all changes to the course syllabus and examine particular changes.
Each commit is labeled with a hash code that provides a short, unique identifier (that is represented as 7 hexadecimal symbols so looks something like 40ef71e) for that version. If you click on one of the commits, you’ll be able to see the changes you made (for example https://github.com/devansuva/devansuva.github.io/commit/40ef71ea77ce6a394b8c7731739a23cf71fc7d20 is the commit where I added some style to the example site, and https://github.com/devansuva/devansuva.github.io/commit/9e6b5dd1c081a2384739d6754a207388935516e6 shows the commit where I fixed an extra </font> tag).
Problem 2. Find the commit where you added style to your webpage in the previous step, and paste the full URL to that commit (it should look similar to the URLs above, and open a page that shows the changes you made in that commit) into the submission form.
6. Becoming a web guru.
The best way to learn about how to make web content that does what you want, though, is to examine other web pages. By its nature, HTML for the web is essentially ``open source’’ since the actual HTML content has to be visible to be displayed by the web browser. This means for any web page you visit in your browser, you can see how they created it (at least the client-visible part — there is a lot of code running on their server that you can’t see that is doing most of the interesting work). To see the HTML that generated a web page, open the page in your browser and then you can see the HTML source for that page by doing:
- If you are using Mozilla Firefox, select
Tools | Browser Tools | Page Source(or just ⌘-U). - If you are using Google Chrome, select from the top menu,
View | Developer | View Source. - If you’re using Safari, Apple seems to have made it fairly hard to see HTML source for some reason, and what you’ll need to do will depend on the version you have. But, for web development, we don’t recommend using Safari, so better to use one of the other browsers.
- If you’re using some other browser hopefully it has a simple way to view source that you can figure out, but if not, please let us know.
In both Firefox and Chrome, you can also right-click anywhere on the web page (that isn’t capturing the click to do something else), and a menu will appear that has Inspect at the bottom. If you click on Inspect you’ll be able to see the element you clicked on and explore the page in a new pane that opens in the right side of the browser. (You can even edit things here, to learn about the effects of different attributes, or to remove annoying elements from web pages, fabricate realistic-looking screenshots, circumvent some paywalls, etc.)
Find a web page that has some interesting styling and use the inspection tools to try and understand how they did it. Then, modify your website to take advantage of what you learned (remember to Commit your changes, and see that they have propagated to your website).
Problem 3. (a) Provide the URL to the website you learned from and explain what you found on it. (b) Find the commit that you just did, and submit the URL to it (similarly to the last problem, but for the new commit).
7. Plentiful pages.
A single web page is probably not enough to solve all the world’s problems, so you’ll need to create some more pages.
At your repository page (https://github.com/username/username.github.io), click the + to + Create new file (or just visit https://github.com/username/username.github.io/new/main). You can select any name you want for the new page, but it should end with a .html extension.
Commit your changes, and visit the new wepage in your browser (it should exist, after a short delay, at https://username.github.io/pagename and https://username.github.io/pagename.html. For example, https://devansuva.github.io/pickles and https://devansuva.github.io/pickles.html.
You probably also want to include some pictures on your web site. You can do this by uploading an image file to your repository by selecting the + and Upload Files (or just visiting https://github.com/username/username.github.io/upload/main) and selecting some images to upload.
Then, you can embed the picture directly in your webage by using an img tag. For example (where pic1.jpg would be the name of the image you uploaded):
<center>
  <a href="/pic1.jpg"><img width="80%" src="/pic1.jpg"></a>
</center>
Add at least one, but as many as you want, additional pages and images to your website (feel free, of course, to play around with other things like embedding videos if you want).
8. Dropping anchors.
The power of the web comes from the ability to have hyperlinks between objects on the web. Its so central to the web’s value that the H in HTML standard for Hypertext.
Creating a hyperlink involves finding a URL (Uniform Resource Locator) that identifies the object you want to link to, and then using an a tag with the href attribute:
<a href="URL">this is the link text (or image) to click on</a>
Whatever is between the <a href=...> that opens the tag and the </a> that closes it will be the clickable link. (There was an example with the image in the previous step!)
Add a link from your index.html page to the new pages you created in the previous step, and add links on those pages that go back to the index.html page. Since these are links within your site they should be relative links, not complete URLs. For example, add this link on your new page:
<a href="index.html">Return to Index</a>
would produce a link that goes back to the index page.
By using a full URL, you can create a link to any object on the web. For example,
<a href="https://poe.com/s/o8XtfVZ7BaoUNwGeERMk">Evidence that Large Language Models are great at telling jokes about pickles</a>
Problem 4. Add a few internal and external links to your website. Find the commit that you just did, and submit the URL to it (similarly to the last problem, but for the new commit).
At this stage, you have all the tools you need to build a valuable website — all that’s left to do is to create some worthwhile content and the world will beat a path to your door. Actually, that’s probably not going to happen — you need for people to find your website, and the usual way people find website is through search engines.
One way to get your site indexed by google is to have a site that google already indexes include a link to your website. Sometimes people pay scammers to add links to their website (which doesn’t usually end well), but you don’t need to resort to that!
Fortunately, the course website is indexed by google (for example, try https://www.google.com/search?q=uva+cs1010+computing+for+future+leaders), and if you post the URL to your website in the Canvas “Project 2 Link” Discussion.
Post the URL for your website in the Canvas “Project 2 Link” Discussion. (Although Project 2 is not due until February 23, you should do this step as soon as you can, and not later than Friday, February 19.)
Developing Locally
One drawback of developing your website by editing files using github’s web interface like this is that you can’t try things out and see if the work without making your changes visible to the world, making a public commit of your edits, and waiting for your edits to propagate to the publicly-visible website. As your site gets bigger and starts to attract millions of visitors, you don’t want everyone to see your changes until you have tested them and a ready to make them visible on the public website.
To do this, you need to make a local clone of your git repository. This will allow you to make any edits you want in your local clone, test them on your own machine, and then, when you are ready, push these changes back to the main repository on github.
There are lots of different ways to do this, and to edit files on your local machine. But, to try and make things as similar as possible between MacOS and Windows users, and to give you the experience of using a powerful (but free) editing tool, we will provide instructions for how to do it using Microsoft’s Visual Studio Code.
9. Set up your Local Editing
Follow the directions at https://code.visualstudio.com/ to download and install the latest stable version of Visual Studio Code to your machine (this is available for MacOS, Windows, and Linux, which should cover everyone in the class). (If you do this on the machine you want to work on, the website should automatically determine the correct version to download with the big blue button there.)
You can manually connect to your github repository, but if you want things to be easy, also install the GitHub Pull Requests and Issues extension.
Follow the directions on https://code.visualstudio.com/docs/sourcecontrol/github and Sign In to your github account and then clone your repository (https://github.com/username/username.github.io).
10. Edit your website locally, and push the changes.
Once you’ve done this, you can start editing the code in the Visual Studio Code editor, and make any changes you want. (It is not necessary to read beyond this in the instructions.) You can open your html files in your web browser and test them.
Make some edits to improve your website. In addition to modifying the current files, you can add additional files, make folders, and do anything else you want to change the site locally.
When you are ready, select the git menu on the left side of Visual Studio Code, and “Commit & Push” from the “Commit” menu. Commit by itself would give you a local commit, but the “Push” is what updates the content in your github repository and makes the changes propagate to your publicly-visible website.
Note: If you get stuck setting up things to work locally, you can skip ahead to and continue to the remaining problems editing your website using the github web interface. Things work differently depending on your machine setup and other software that might be installed, so it might be necessary to do some extra steps to get Visual Studio Code working with github for you. You can ask questions in the Canvas discussion, and we’ll try to help there, but go ahead with the remaining problems and you can get back to setting up the local repository and editing later.
Problem 5. Find the commit that you just did on your github repository site, and submit the URL to it (similarly to the last problem, but for the new commit). If you ran into any issues editing locally or have any questions about what is going on, include them in your answer.
A Sense of Style
Hopefully your website already is very stylish from the work you did for Problem 2 and the edits you have done since then. The problem is all of the styling is done within the page content, so has to be done manually everywhere if you want to keep the website stylish and consistent.
Cascading Style Sheets were invented to solve this problem. They allow you to describe style aspects in a separate file from the structure and content.
11. Creating your own style.
Create a new file, style.css in your local repository. (The .css extension should be used, but you can change the name style to something more descriptive and personal of your choosing.)
To use this in your web pages, add the line
<link rel="stylesheet" href="/style.css" type="text/css">
to each of your .html files in the <head> section. This instructs the browser to use the linked CSS file.
Now you can modify your style.css file in a way that changes the style of all of the pages on your site.
The CSS format allows you to specify web elements using a select, followed by styling attributes that apply to any element the rendered page that matches the selector.
Here are a few examples (for demonstration purposes only, not recommended style!):
h1 {
  color: blue;
  background-color: orange;
  font-size: xx-large;
}
This says to make all level one headers (<h1>) with ridulously-large blue text on an orange background.
body {
  font-family: Verdana, sans-serif;
  margin-left: 10%;
  margin-right: 10%;
}
This is what we should have done instead of
<body style="font-family: Verdana, sans-serif; margin-left: 10%; margin-right: 10%">
as was done earlier.
Adding this to your style sheet will make all of your chunks paragraph text look better:
p {
    text-wrap: pretty;
}
You can also define your own structural styles. For example, the green boxes used to mark problems on this webpage are created using this:
.problem {
    background-color: #86e2b0;
    margin-left: 5%;
    margin-right: 10px;
    margin-bottom: 20px;
    padding-top: 10px;
    padding-left: 10px;
    padding-bottom: 2px;
    font-size: large;
}
The . means this is selected when an element has the attribute class="problem". In the HTML for the page, I use
<div class="problem">
Here's the text of the problem, which will now appear in the green box style defined in the style sheet.
</div>
Problem 6. Add some styles to your style.css file, and use them in your HTML files. When you’ve got things looking how you want locally, commit and push the changes to your github repository. Find the commit on your github repository site, and submit the URL to it. If you ran into any problems or make any interesting discoveries about how to use style sheets, include them in your answer.
Now you’re done with the expected web site development for this project. Of course, a website is never really done! We hope you’ll find your website useful and fun to work on, and will keep improving and adding to it for the rest of the semester and beyond this course.
Understanding Search Engines and the Web
The remaining problems are to check your understanding of how the web works.
Problem 7. Based on your understanding of how web search engines work (mostly from Class 7), explain how each of the following would impact the cost (amount of computation work needed) to provide a response to a web query (compared to a short single word query on the current web engine index):
- The amount of content on the web that is included in the web engine index doubles
- The query is one very long word
- The query is many short words, separated by spaces
- The query word is not found on any webpage in the corpus
For each sub-part, a good answer will describe the property of how the search engine works that impacts the cost of responding to the query in a way that depends on the change described in each sub-part.
The next problem will require some investigation on your part to answer well, but see what you are able to figure out. If you’re stuck on ways to try and answer these, post in the Canvas discussion for Project 2.
Problem 8. The following subquestions are about the https://username.github.io/ website you built for Part 1. For each sub-part, find the best answer you can, and explain what you did to get it.
- Where (physically) is the machine that is hosting your web site?
- How long does it take to get a response from your web site?
- How many bits are sent over the Internet when you request the main page of your web site in your browser?
Finally, an optional search engine challenge!
Googlewhack is a challenge to find a Google query where the response is a single website. There’s even a two hour movie about it (which might not be worth watching in its entirety, but does give a historical view of what web searching was like in the early 2000s). The original goal is to find a query that is just two words, both of which are in the dictionary, where the response is a single webpage. (Of course, all the googlewhacks in the movie now appear on hundreds of websites).
Problem 9. Find a google query where the response is a single webpage. Bonus if your query is just a sequence of normal words, and double bonus if it is just two words.
It is also not even clear if finding a googlewhack (as narrowly defined) is even possible today, but hopefully some of you will show that it is. Note that since you now have a website that you control, you could potentially modify your own website to set up a winning googlewhack. This would not be considered cheating, but may still be quite challenging to do, and depends on getting your page into the index.